Effects reference: Common
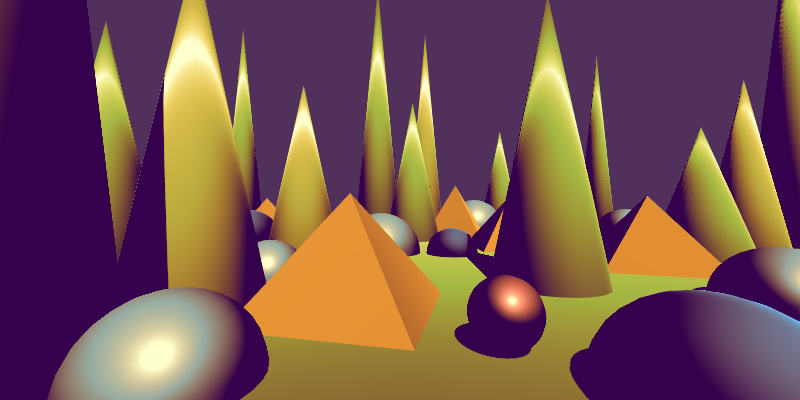
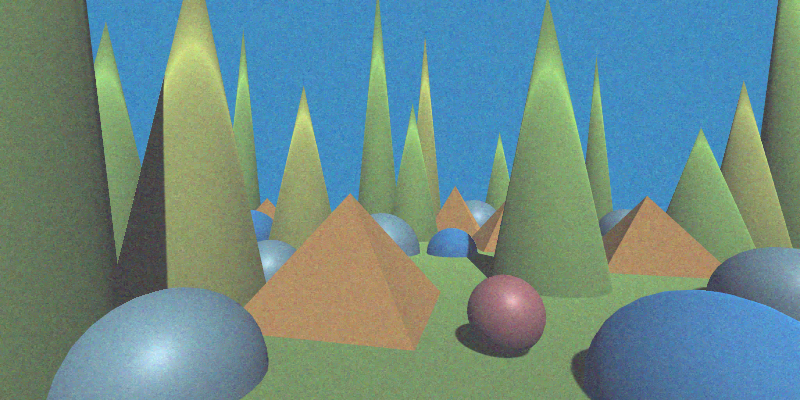
This image shows the original scene without any post processing.
Add Texture
Adds a texture (remapped to specified min amd max) to the image.
| Property | Range | Description |
|---|---|---|
| Overlay Texture | 🔳 | The texture image to add. |
| Min | [-1, 1] | The minimum value to remap the texture to. |
| Max | [-1, 1] | The maximum value to remap the texture to. |
Tip
To ignore a channel, make the two values equal for that channel.
For example, Min = (-.1, -.1, -.1, 0) and Max = (.1, .1, .1, 0) will leave
the alpha channel in tact.

Adjust Gamma
Adjust the gamma of the image.
| Property | Range | Description |
|---|---|---|
| Gamma | (0, ∞) | When 1.0, no change is made. Values less than 1.0 darken the image, while values greater than 1.0 lighten it. |
Blend Texture {#BlendTexture}
Blends an overlay texture with the image based on its alpha and the specified opacity.
| Property | Range | Description |
|---|---|---|
| Overlay Texture | 🔳 | The texture to blend with the image. The original alpha is respected. |
| Opacity | [0, 1] | Controls the strength of the blend. A value of 0 shows only the original image, while 1 applies the overlay fully (modulated by the overlay’s alpha). |
Tip
- Use this for setting constant, full-screen textures (with opacity 1). This is useful for debugging or tweaking post effects.
- This is also useful to add noise, an important ingredient in many effects.
Desaturate
Removes color saturation from the image, producing a grayscale result based on luminance.
(This effect has no adjustable properties. It fully desaturates the image according to its luminance.)
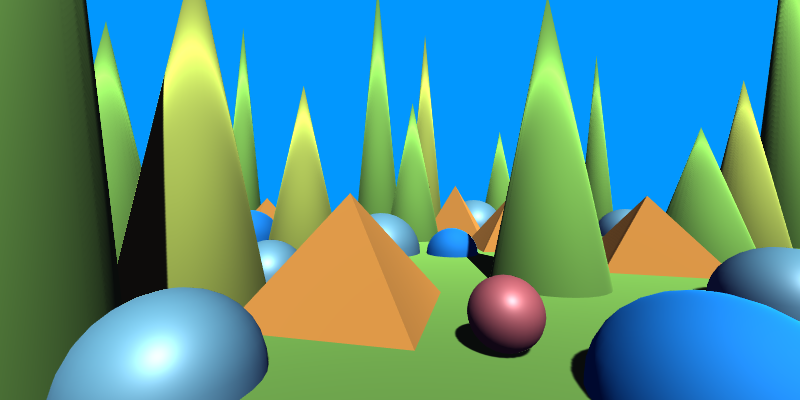
Pixelate
Applies a pixelation effect to the image by sampling blocks of pixels instead of individual texels.
| Property | Range | Description |
|---|---|---|
| Pixel Size | (1, ∞) | Controls the pixelation density along the X and Y axes. Higher values produce larger blocks and a more pixelated look. |
![]()
Quantize
Reduces the number of distinct color values in the image, creating a posterized or stylized effect.
| Property | Range | Description |
|---|---|---|
| Level Count | [2, ∞) | Specifies the number of quantization levels for each color channel (R, G, B). Higher values preserve more detail. |
| Smoothness | [0, 1] | Controls the softness of transitions between quantized levels. A value of 0 produces hard edges, while higher values blend the steps smoothly. |
Tip
With a low number of levels, many of the resulting colors turn out gray if each channel has the same number of level, leading to a dull result. By setting a different number of levels for at least one channel you get a more colorful result.
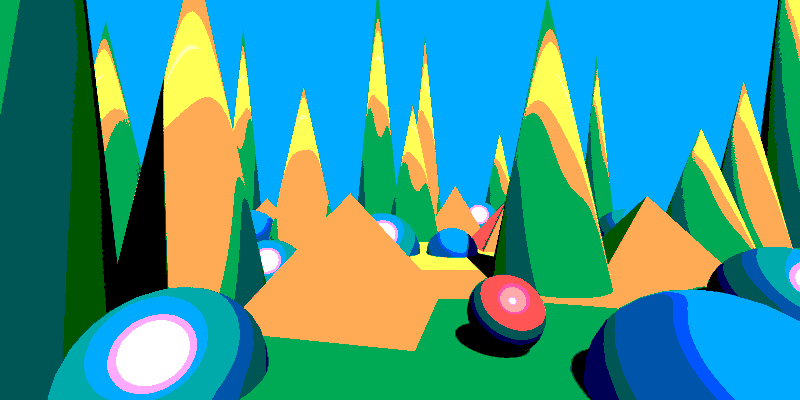
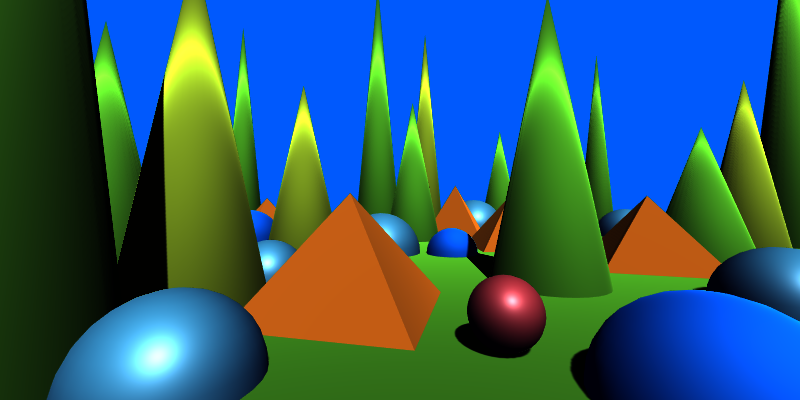
This is with Smoothness = 0 (hard transitions). The level count is 2 for red, 4 for the other 2.
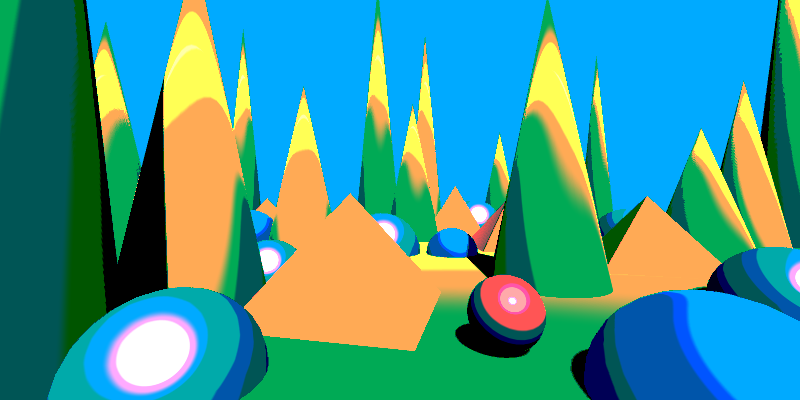
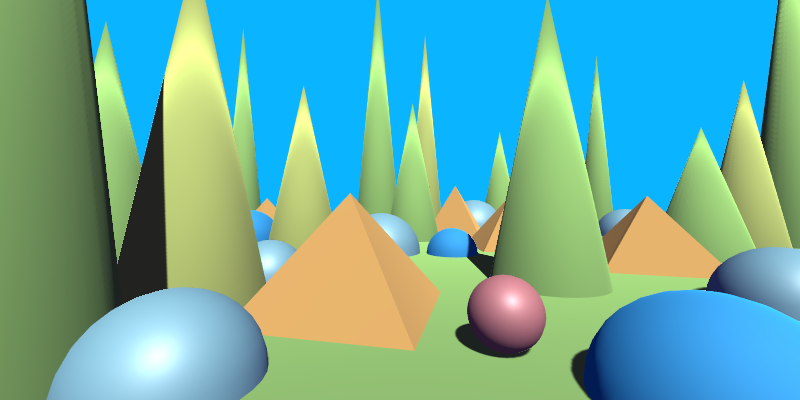
This is with Smoothness = 0.1 (smooth transitions).
Tri-tone Map
Maps the image’s tones to three colors (low, mid, and high) based on lightness, smoothly blending between them using inverse linear interpolation.
| Property | Range | Description |
|---|---|---|
| Low Color | 🎨 | The color applied to the darkest areas of the image. |
| Mid Color | 🎨 | The color applied to mid-range tones. |
| High Color | 🎨 | The color applied to the brightest areas of the image. |
| Low Value | [0, 1] | The threshold below which pixels are tinted entirely with the Low Color. |
| Mid Value | [0, 1] | The midpoint that controls the blend between low and high regions. |
| High Value | [0, 1] | The threshold above which pixels are tinted entirely with the High Color. |
Tip
- Use this effect for quick-and-dirty color grading.
- This is an easy way to make monochromatic effects more lively.